Models
What are models?
In Roblox Studio, a model is like a set of building blocks that you can use to create more complex and interesting objects in your game. Just like how you can use different Lego pieces to create a castle or a car, you can use different parts, objects, and scripts in a model to create things like buildings, vehicles, or characters in your game. You can also change the colors, textures, and other properties of a model to make it look exactly how you want it to. Overall, models are like the tools you use to build your game world, and they let you create things that would be too difficult or time-consuming to make from scratch.
You can use models that other people have created or that you’ve created in another program. Here are the steps to import a model into Roblox Studio:
-
Open Roblox Studio on your computer and create a new place.
-
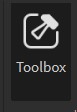
Look for the “Toolbox” button at the top of the screen. It has an icon that looks like a square with a hammer inside.
-
Click on the Toolbox button to open it.
-
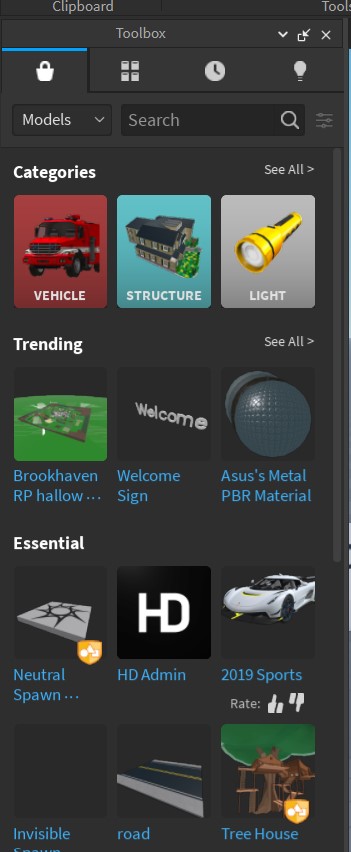
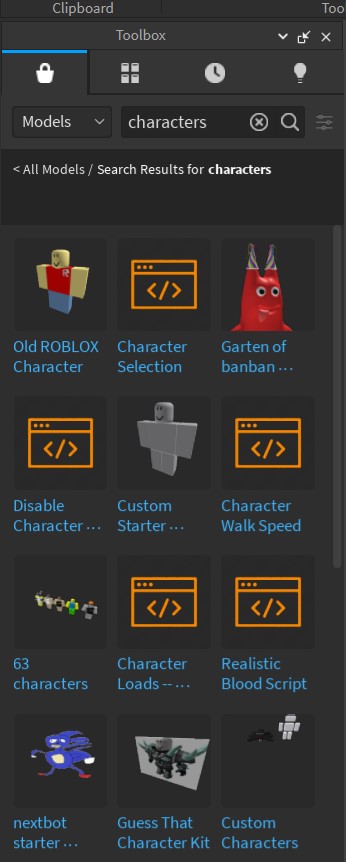
In the Toolbox, you’ll find different categories like “Models,” “Decals,” and “Meshes.” Click on the “Models” category.
-
Now, you’ll see a list of different models that you can choose from. Take your time and browse through them.
-
When you find a model you want to use, click on it.
-
The model will now appear in your game world! You can use the move tool to position it wherever you want.
Once you’ve imported a model, it will appear in your game world and you can move and manipulate it just like any other part. You can also customize the colors, textures, and properties of the model to fit your game. Importing models is a great way to save time and add complex objects to your game without having to build them from scratch.
Here are a few examples of importing models from the Roblox Library in Roblox Studio:
-
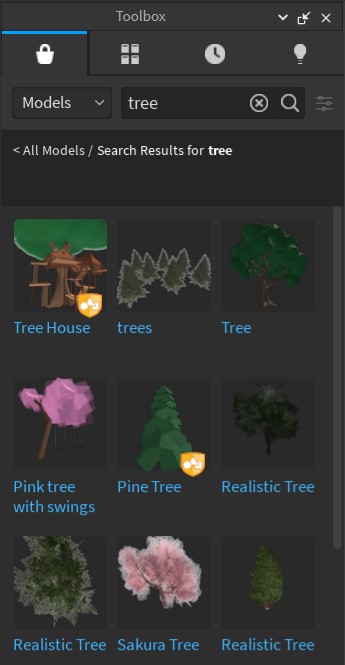
If you want to add a tree to your game, you can search for “tree” in the Roblox Library and browse through the different options. Once you find one you like, click on it and then click “Insert” to add it to your game world.
-
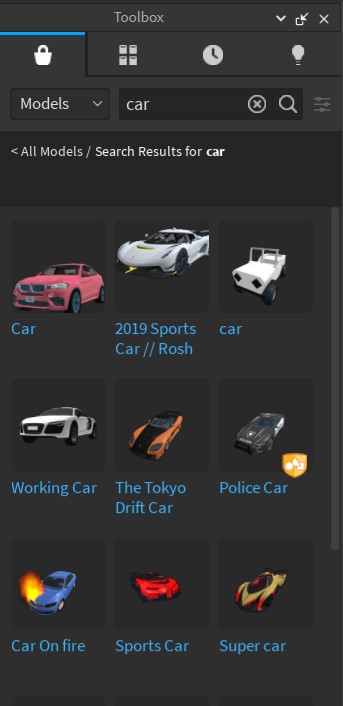
Let’s say you want to add a car to your game. You can search for “car” in the Roblox Library and then select the type of car you want, such as a sports car or a truck. Click “Insert” to add it to your game.
-
If you want to add a character to your game, you can search for “character” in the Roblox Library and browse through the different options. Once you find one you like, click on it and then click “Insert” to add it to your game world.
Activity: Import Model
- Open Roblox Studio and create a new place.
- Click on the “View” tab in the top menu and select “Explorer” to open the Explorer window.
- Click on the “Library” tab in the left sidebar to open the Roblox Library.
- Browse or search for a model that you want to use in your game or project.
- Drag the model from the Library into your game or project using the Explorer window.
- Arrange and position the imported model in your game or project to fit your desired location.
- Save your changes and test your game or project to see how the imported model looks in action.
Customizing Models
Customizing models in Roblox Studio is a great way to add unique elements to your game or project without having to create everything from scratch. Here are the basic steps for customizing models from the Roblox Library:
-
First, click on the model you want to customize in your game world. It will be highlighted or have a bounding box around it.
-
Once the model is selected, look for the “Properties” window in Roblox Studio. It’s usually on the right side of the screen. If you can’t see it, go to the “View” tab at the top and make sure “Properties” is checked.
-
In the Properties window, you’ll see different properties of the model that you can change. Here are some common ones you can customize:
-
Size: You can adjust the size of the model by changing its Width, Height, and Depth values. Just type in new numbers or use the arrows to increase or decrease the values.
-
Color: If the model has a color property, you can change its color by selecting a new color from the color palette. Click on the color box next to the property and choose a color you like.
-
Transparency: Some models can be made transparent. If the model has a Transparency property, you can adjust it to make the model see-through. Just enter a value between 0 (fully visible) and 1 (completely transparent).
-
Texture: Certain models have a Texture property that allows you to apply an image or pattern to them. You can upload your own image or use a texture from the Roblox library to give the model a unique look.
-
Here are some examples of how you can customize models from the Roblox Library:
- If you want to use a tree from the Library in your game, you can adjust the size and shape of the tree’s trunk and branches, change the color of the leaves, and add custom textures to give the tree a unique look.
- If you want to use a vehicle from the Library, you can adjust the size and shape of the different parts of the vehicle, change the color of the body and wheels, and add custom decals to give the vehicle a unique design.
- If you want to use a weapon from the Library, you can adjust the size and shape of the weapon’s parts, change the color and texture of the weapon, and add custom animations to give the weapon a unique feel.
Activity: Customize Model
- Open Roblox Studio and create a new place.
- Drag the model from the Library into your game or project using the Explorer window.
- Click on the imported model in the Explorer window to select it.
- Use the Properties window to adjust the properties of the model, such as its color, size, and transparency.
- Apply textures or decals to the model by selecting the appropriate option in the Properties window and uploading or choosing a texture or decal from the Library or your computer.
- Arrange and position the customized model in your game or project to fit your desired location.
- Save your changes and test your game or project to see how the customized model looks in action.
Putting It All Together
- Open Roblox Studio and create a new place.
- Click on the “View” tab in the top menu and select “Explorer” to open the Explorer window.
- Click on the “Library” tab in the left sidebar to open the Roblox Library.
- Browse or search for a model that you want to use in your game or project.
- Drag the model from the Library into your game or project using the Explorer window.
- Use the Explorer window to select and manipulate the different parts of the model.
- Use the Properties window to adjust the various settings of the model, such as its size, color, and texture.
- Customize the imported model by adjusting its size, shape, color, and texture until you are satisfied with its appearance.
- Save your changes and test your game or project to see how the customized model looks in action.
Vocabulary Review
| Terms | Definitions |
|---|---|
| model | a set of building blocks that you can use to create more complex and interesting objects in your game |