Brainstorming
Coming Up With an Idea
Brainstorming a new app idea can be a fun and creative process. To start, it is important to identify a problem or need that you or others have. This could be a pain point in your daily routine, a service that you wish existed, or a gap in the market that hasn’t been filled yet. Once you have a clear understanding of the problem or need, start writing down ideas for how an app could solve this problem or fulfill this need.
Consider what features the app would need to have to be effective. Think about how the app would benefit the user, what functions it would need to have, and what kind of user interface would make the app easy to use. It is helpful to sketch some rough designs and user flow diagrams to visualize how the app would work.
Introduction to Figma
Figma is a cloud-based design tool used by designers and developers to create digital interfaces, user experience designs, and interactive prototypes. It is a collaborative platform that allows multiple team members to work on the same design in real-time, making it a popular choice for remote teams or those working in different locations.
Sign Up and Login into Figma
- Search Figma’s website: www.figma.com.
- Click the “Sign Up” button in the top right corner of the page.
- Select “Sign up with Google” and choose your Gmail account.
- Type in your name, choose a username and set a password for your Figma account.
- Click “Create Account” to complete the sign-up process.
Creating a New Design File
In Figma, a design file contains all the different elements you need to create a digital design. You can use Figma like a canvas to draw and arrange different shapes, colors, images, and text to create your design.
Just like you use a pencil or markers to draw on paper, in Figma, you use tools like a cursor and a mouse to draw and create your design on the computer screen.
You can follow the steps below to create a new design file:
-
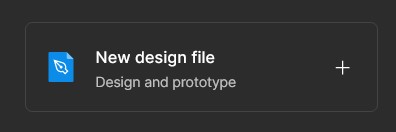
Once you are signed in, you will see your Figma dashboard. To create a new design file, click the New design file” button in the top left corner of the screen.
-
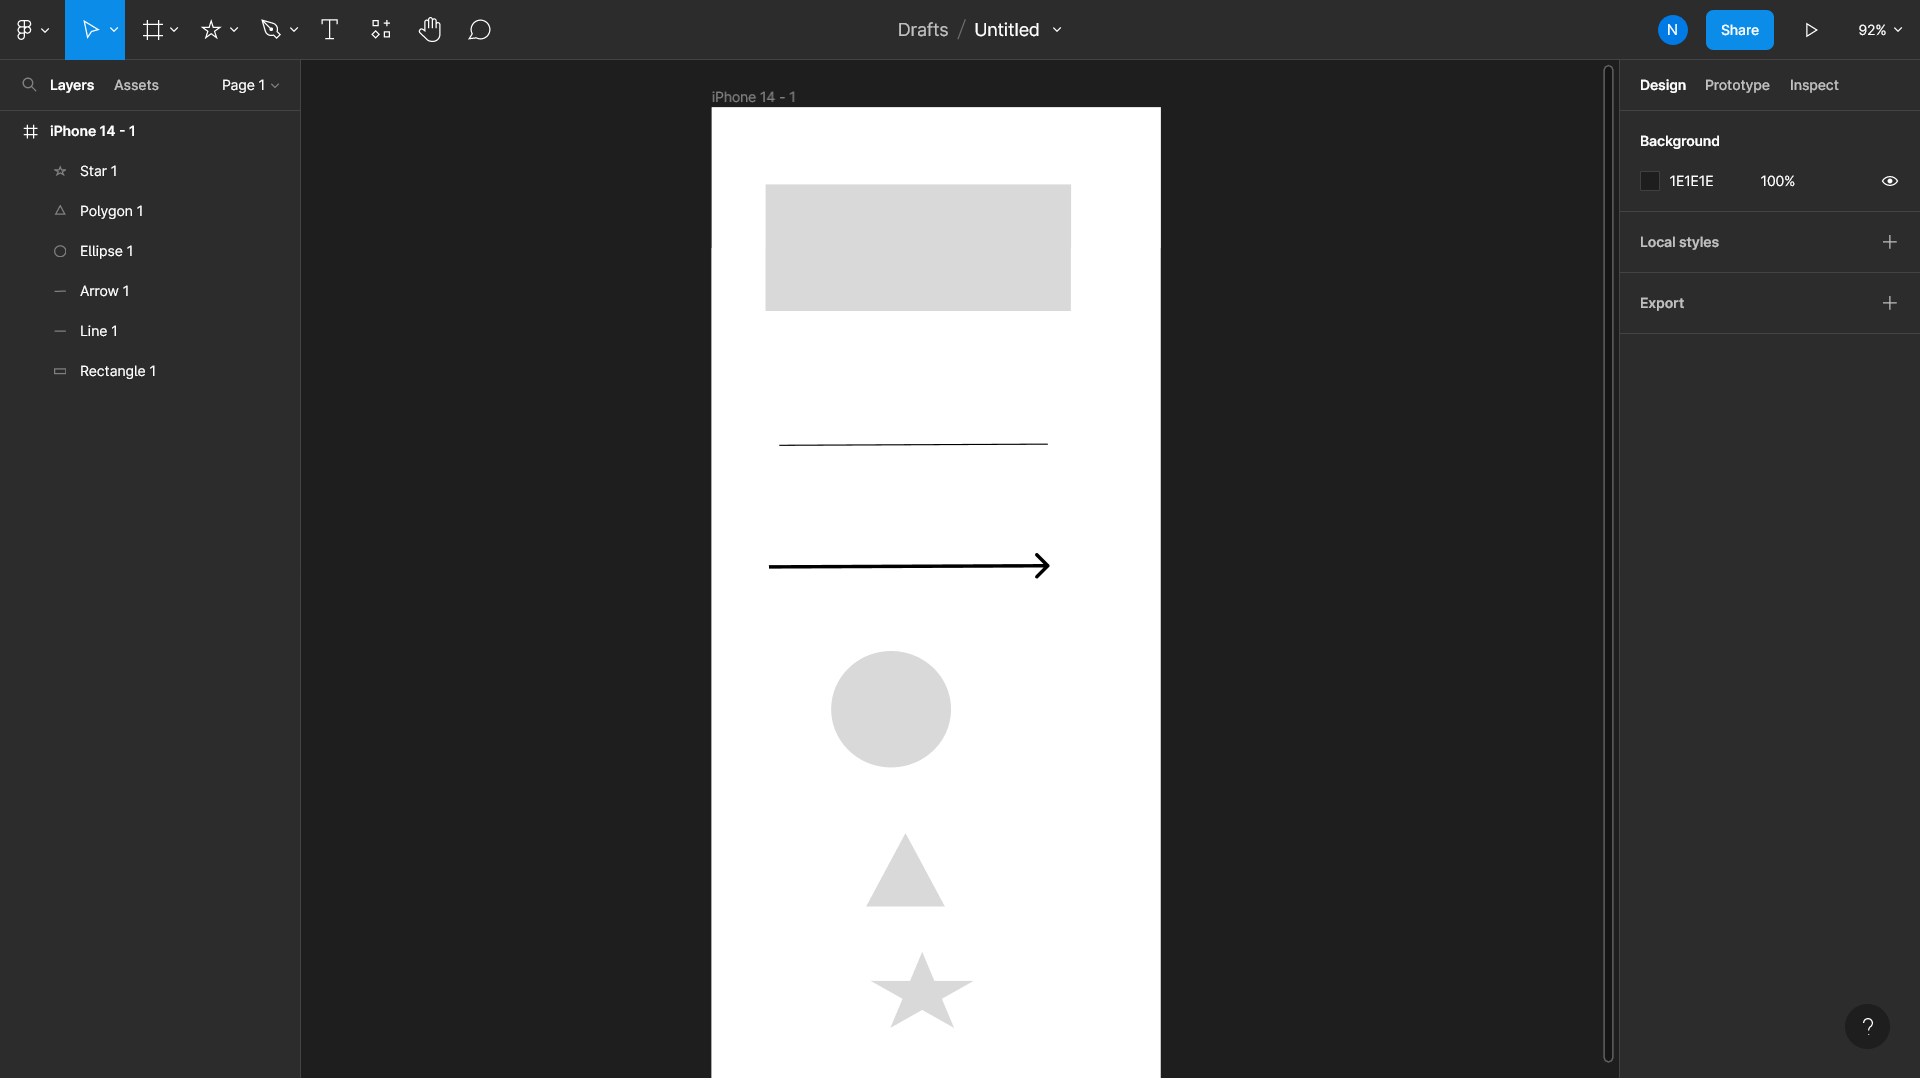
Once you have created your design file, you will see a blank project like the image below.
Activity: Create New Design
Log into Figma, and create a new design file for your app idea.
Adding Shapes and Text
There are different shapes you can use in Figma with the shape tool to ehance your design. These shapes include:
- rectangles
- circles
- triangle
- lines
Using these shapes, with other design tools in Figma, can help you create an intersting that works well.
Below are step by step instructions for adding shapes to Figma:
-
Open your Figma file, and select the frame or artboard where you want to add a shape.
-
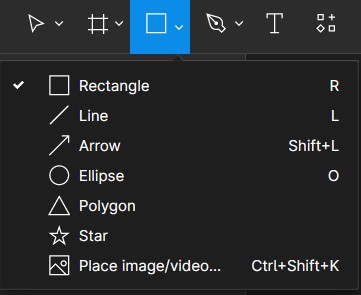
From the toolbar on the left side of the screen, click on the “Shape” icon (the square with a plus sign inside).

-
A drop-down menu will appear with a variety of shape options. Select the shape you want to add to your design.
-
Click and drag on the canvas to create the shape. You can adjust the size and position of the shape using the selection tool (the arrow icon) and the resize handles.
-
To change the fill color, stroke, or other properties of the shape, select it and use the properties panel on the right side of the screen.
The text tool in Figma is like a digital pen or pencil that you can use to write words on your wireframe design. You can use it to add text on your design, including titles, headings, paragraphs, or buttons.
Below are step by step instructions for using the text tool
- From the toolbar on the left side of the screen, click on the “Text” icon (the “T” with a plus sign inside).
- Click and drag on the canvas to create a text box. Alternatively, you can click once on the canvas to create a text layer without a specific size or shape.
- Type your text into the text box. You can adjust the font, size, color, and other properties of the text using the properties panel on the right side of the screen.
- To change the font of the text, select the text box, and choose a font from the drop-down menu in the properties panel. You can also adjust the font size, line height, letter spacing, and alignment from this panel.
- To change the color of the text, select the text box, and choose a color from the fill or text color options in the properties panel. You can also adjust the opacity and blending mode of the text from this panel.
- If you want to add special characters or symbols to your text, you can use the “Insert” menu in the top toolbar to insert symbols, emojis, or special characters.
- To add effects to your text (such as drop shadows or blurs), select the text box, and click on the “Effects” tab in the properties panel. Here, you can choose from a variety of effects and adjust the settings to achieve the desired effect.
Activity: Using Shape and Text Tools
Imagine you are designing a poster for a school event. Use Figma’s Shape and Text Tools to create a title for the event, and decorate it with shapes that match the theme.
Adding Images
In Figma, the image tool is a feature that allows you to add pictures or photographs to your design. This tool allows you to bring visual elements from your computer or the internet to make your designs more interesting and exciting. Below are instructions on how to use the image tool:
- Open Figma on your computer or device.
- Open a design file in Figma.
- Look for the toolbar on the left side of the Figma interface.
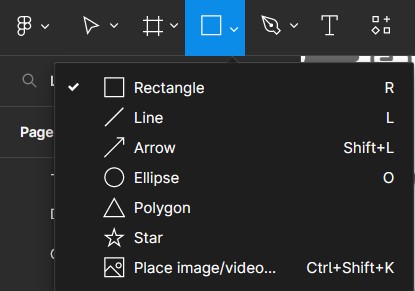
- Find the “image tool” in the toolbar under the “shape tool” in the toolbar.
- Click “Place image/video…” to open the image selection window.
- Choose an image from your computer, and the selected image will appear in your design file.
Adding images in Figma is a great way to enhance your designs and make them more engaging. Make sure to use images that are relevant to your project, and always respect copyright laws by using images that are either your own, from royalty-free sources, or have appropriate permissions for use.
Activity: Using the Image Tool
Using Figma’s image tool, find an image related to the app you have been brainstorming, and insert it into your design file.
Putting It All Together
In the activity below, you will use Figma to layout your app ideas in a design file:
- Imagine an app that you would like to create. It could be a game, a social media platform, an educational tool, or anything else you find interesting.
- Open Figma on your computer or device, and create a new design file.
- Use the “shape tool” in Figma’s toolbar (usually represented by a square or rectangle icon) to create rectangular shapes that resemble sticky notes.
- Place these sticky notes on the canvas to represent different aspects or features of your app idea.
- Select the “text tool” in Figma’s toolbar (usually represented by a “T” icon).
- Click on a sticky note shape, and start typing to add text that describes the specific aspect or feature of your app represented by that sticky note.
- Repeat this process for each sticky note, adding relevant text to explain your app idea further.
- Research existing social media apps that are similar to your concept, and take screenshots of their interfaces. Using Figma’s image tool, insert the screenshots into your design file.
Vocabulary Review
| Terms | Definitions |
|---|---|
| figma | a cloud-based design tool used by designers and developers to create digital interfaces, user |
| design file | contains all the different elements you need to create a digital design |
| shape tool | tool to create different shapes in Figma |
| text tool | a digital pen or pencil used to write words on your design |
| image tool | feature that allows users to add pictures or photographs to your design |