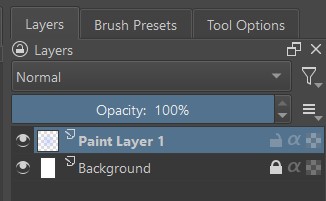
Layers
Introduction to Layers
Layers in Krita work similarly to drawing with different colored pencils on a paper. Each layer is like a transparent sheet of paper that you can draw on without affecting the layers below or above it. You can draw and color on one layer without worrying about making unwanted marks on the other layers.
The layer docker in Krita allows you to organize and manage the different elements of your artwork on separate layers, making it easier to work with complex compositions.
If you do not see the layers docker, you can open it by selecting “Layer” from the top menu bar and then selecting “Show Layer Docker” from the dropdown menu.
Overall, layers in Krita allow you to work on different parts of your artwork separately without affecting the rest of the drawing. It is like having multiple sheets of paper on top of each other with the added ability to easily make changes to each layer without starting over.
Creating Layers
You can create new layers in Krita in a few different ways, depending on your preference. Here are some examples:
-
Click on the “New Layer” button in the Layers docker. This will create a new layer above the currently selected layer.

-
In the toolbar, select “Layer” then select “New” and choose the “Paint Layer” menu option

Activity: Creating Layers
- Open Krita and create a new document.
- Use the freehand brush tool to draw a simple shape, like a circle or square, on the canvas.
- Create a new layer.
- Draw another shape on the new layer, using a different color or brush size than the first shape.
Deleting Layers
If you want to delete a layer in Krita:
-
Select the layer you want to delete in the Layers docker.
-
Click the “Delete Layer” button at the bottom of the docker.

Activity: Deleting a Layer
- Open the document you created in the previous exercise.
- Use the layer docker to delete the layer you created earlier.
- Save the changes you made to the document.
Duplicating Layers
If you want to duplicate a layer in Krita, you can also do this in a few different ways. Here are some examples:
- Select the layer you want to duplicate in the Layers docker, then click on the “Duplicate Layer” button at the bottom of the docker.
- Right-click on the layer you want to duplicate in the Layers docker, then select “Duplicate Layer”.
- Press Ctrl+J (or Cmd+J on a Mac) on your keyboard while the layer you want to duplicate is selected.
Activity: Duplicating a Layer
- Open the document you created in the “Creating Layers” Activity.
- Use the layer docker to duplicate the layer you created earlier.
- Use the freehand brush tool to draw an image on the duplicated layer.
Layer Properties
Layer properties in Krita are settings that adjust how your layers look and behave. The following are some examples of layer properties and how they work:
Opacity is a layer property that controls how transparent or opaque a layer is. If a layer has low opacity, it will be more transparent, and you can see through it. If a layer has high opacity, it will be more opaque and you won’t be able to see through it as easily. You can use opacity to create a subtle effect, like making a shadow on a layer or fading out an image in the background.

Visibility is a layer property that controls whether or not a layer is visible or invisible. If a layer is visible, you can see it on the canvas. If a layer is invisible, you can not see it on the canvas. This can be useful when you want to temporarily hide a layer to focus on another layer, or when you want to see what the drawing looks like without a certain layer.

Locking a layer is a property that prevents changes from being made to the layer accidentally. For example, you can lock the sketch layer to prevent it from being moved or edited while you’re working on another layer. You can also lock a layer’s transparency to prevent changes from being made to the layer’s transparency.

Layer properties in Krita are a set of tools that allow you to adjust and fine-tune each layer to create the desired effect. By adjusting the layer properties, you can create a variety of effects and styles in your artwork.
Activity: Locking a layer
- Open Krita, and create a new document.
- Use the layer docker to create a new layer.
- Draw an image on the new layer using the freehand brush tool.
- Lock the layer by clicking on the lock icon next to the layer name in the layer docker.
- Try to draw on the locked layer using the freehand brush tool and observe what happens.
Activity: Changing Layer Visibility
- Open the document you created in the previous activity.
- Use the layer docker to toggle the visibility of the layer you created earlier.
- Try to draw on the hidden layer using the freehand brush tool and observe what happens.
- Toggle the visibility of the layer again to reveal your drawing.
Activity: Changing Layer Opacity
- Open the document you created in the first activity.
- Use the layer docker to adjust the opacity of the layer you created earlier.
- Draw an image on the adjusted layer using the freehand brush tool.
- Experiment with different opacity values to see how they affect the transparency of your drawing.
Layer Effects
Layer effects in Krita are tools that allow you to add different types of visual effects to your layers, such as shadows, glows, and outlines. These effects can make your artwork stand out and appear more polished.
For example, you can add a drop shadow effect to make your drawing appear as if it has a shadow behind it, or add a glow effect to make it look like it’s glowing. You can also add a stroke effect to create an outline around your drawing, or a bevel effect to create a 3D effect.
Think of layer effects like adding different toppings to your favorite pizza. Each topping changes the appearance and taste of the pizza, just like layer effects change the appearance of your drawing.
To apply a layer effect in Krita, you can select the layer you want to apply the effect to, and then click on the “Layer Style” button in the layer docker. From there, you can choose the effect you want to apply and adjust its settings to achieve the desired effect.
Here are some examples of layer effects you can apply in Krita:
-
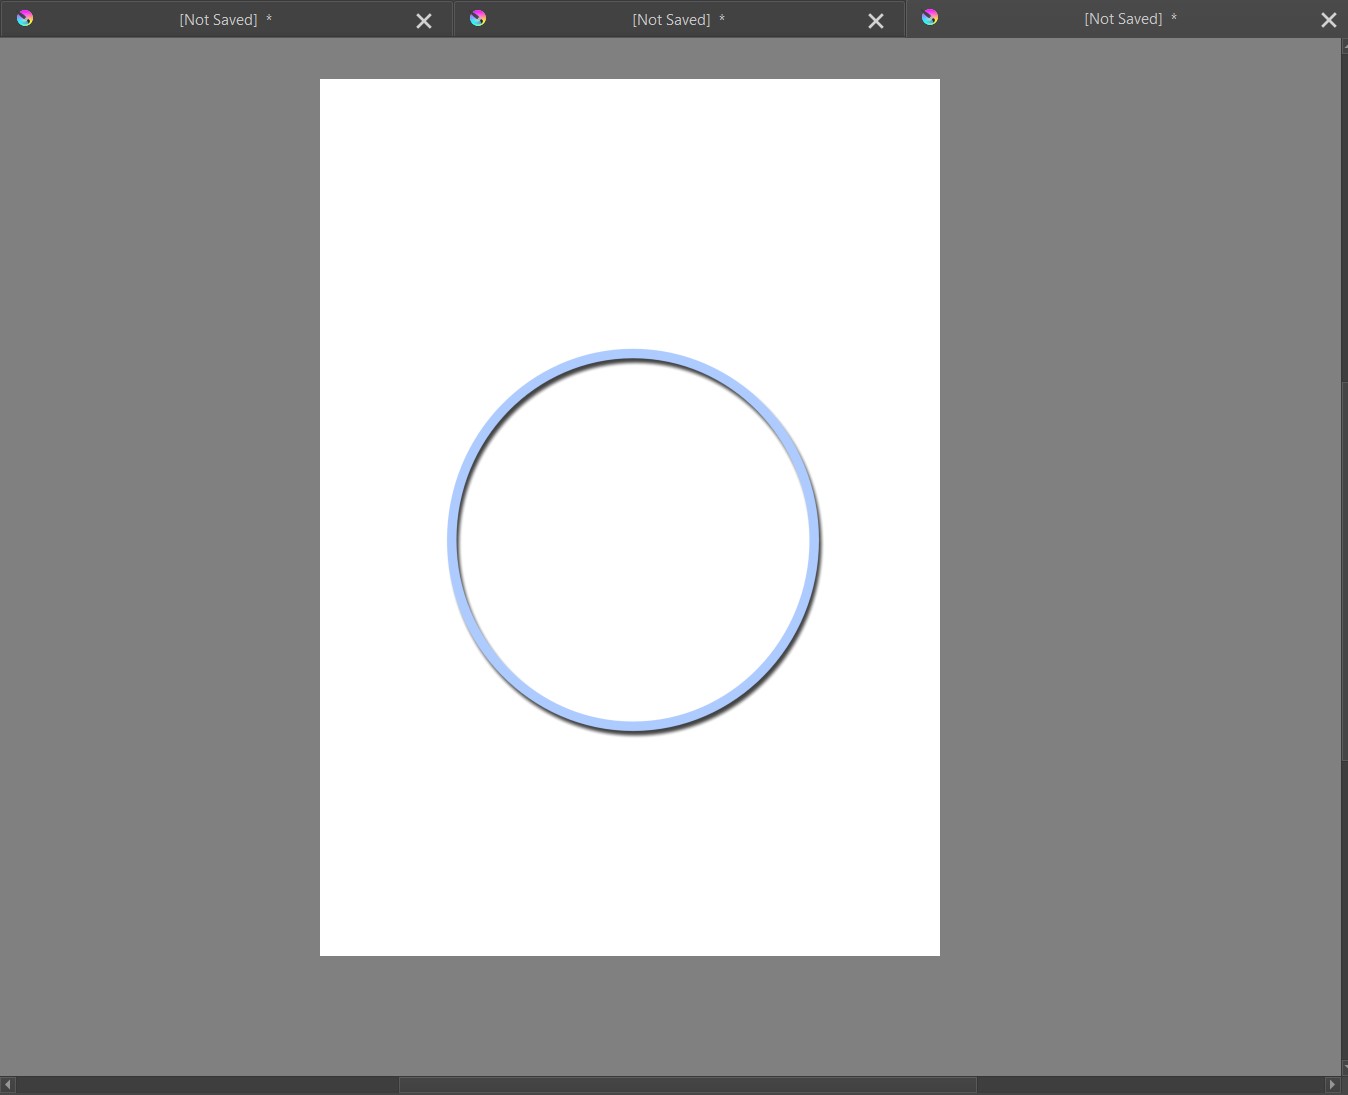
A drop shadow effect adds a shadow to the edge of an object, making it appear as though it is floating above the surface it is on. You can add a drop shadow effect by following these steps:
- Click on the “Layer Style” button in the Layers docker.
- Choose “Drop Shadow” from the menu of layer effects.
- Adjust the settings for the drop shadow effect, including the distance, opacity, and angle of the shadow, until you are happy with the result.
-
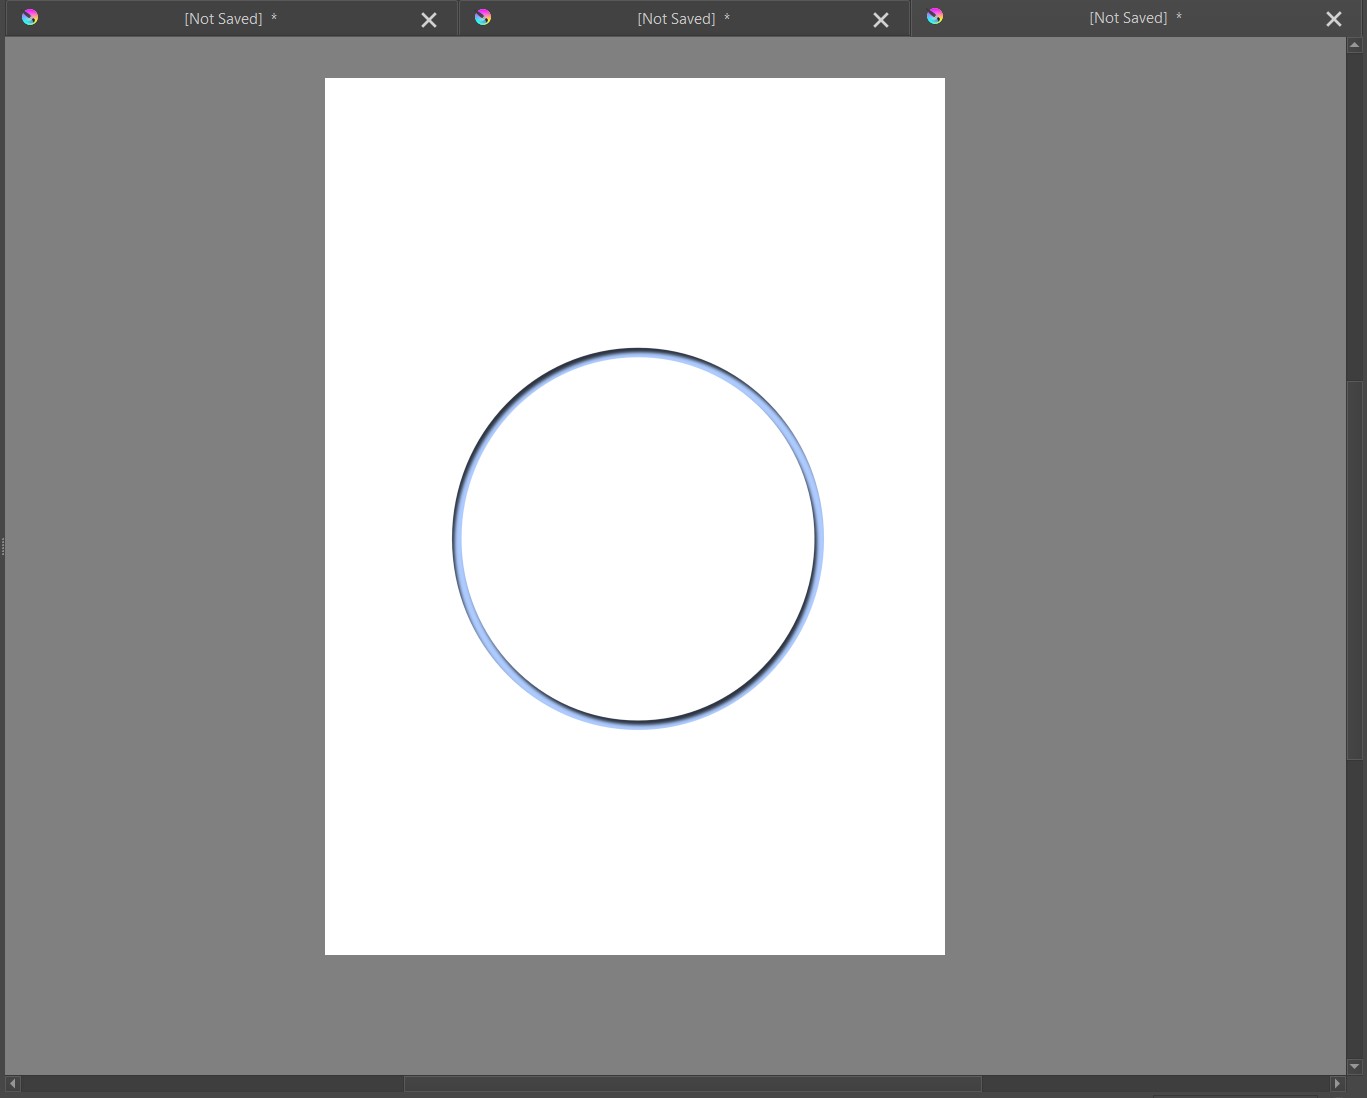
An inner shadow effect adds a shadow to the inside edge of an object, making it appear as though it is inset or pressed into the surface it is on.
- Click on the “Layer Style” button in the Layers docker.
- Choose “Inner Shadow” from the menu of layer effects.
- Adjust the settings for the inner shadow effect, including the distance, opacity, and angle of the shadow, until you are happy with the result.
-
An outer glow effect adds a soft, glowing halo around the edge of an object, making it appear as though it is emitting light.
-
Click on the “Layer Style” button in the Layers docker.
-
Choose “Outer Glow” from the menu of layer effects.
-
Adjust the settings for the outer glow effect, including the size, opacity, and color of the glow, until you are happy with the result.
-
To apply a layer effect in Krita, first select the layer you want to apply the effect to, then click on the “Layer Style” button in the “Layers” docker. From there, you can choose the type of effect you want to apply and adjust its settings to your liking.
Layer effects in Krita are a fun and easy way to add different visual effects to your artwork, making it stand out and look more polished.
Activity: Create Drop Shadow Effect
Add a drop shadow effect to your digital painting or drawing in Krita to create depth and visual interest. Experiment with different settings to achieve different effects.
Activity: Create Inner Shadow Effect
Apply an inner shadow effect to an element in your digital painting or drawing using Krita to create a sense of depth. Adjust the shadow settings to achieve different effects.
Activity: Create Outer Glow Effect
Add an outer glow effect to an element in your digital painting or drawing using Krita to create a subtle or dramatic lighting effect. Experiment with the glow settings to achieve different results.
Activity: Create Inner Glow Effect
Apply an inner glow effect to an element in your digital painting or drawing using Krita to create a soft or radiant lighting effect. Adjust the glow settings to achieve different results.
Putting It All Together
- Open Krita, and create a new document.
- Use the layer docker to create a new layer.
- Use the freehand brush tool to draw a simple shape on the new layer.
- Duplicate the layer by right-clicking on the layer in the layer docker and selecting “Duplicate Layer”.
- Select the duplicated layer and apply a drop shadow effect to it.
- Select the original layer and apply a stroke effect to it, with a color of your choice.
- Duplicate the original layer again, and select the new duplicated layer.
- Apply a bevel effect to the new duplicated layer to create a 3D effect.
- Use the layer properties in the layer docker to adjust the opacity of the original layer.
- Use the move tool to adjust the position of all layers to create an interesting composition.
- Save your artwork.
Vocabulary Review
| Terms | Definitions |
|---|---|
| layers | - |
| layer properties | settings used to adjust how the layers in a digital image look and behave |
| opacity | a layer property that controls how transparent or opaque a layer is |
| visibility | a layer property that controls whether or not a layer is visible or invisibl |
| locking a layer | a layer property that prevents changes from being made to a layer accidentally |
| layer effects | a set of special tools that allow creators to add different visual effects to layers, such as shadows, glows, and outlines |